Introduction
Watching TV should be an enjoyable experience, but sometimes the picture quality might not feel quite right. The good news is, you don’t need to spend money on a new TV or expensive equipment to make your screen look amazing. With a few simple adjustments, you can unlock your TV’s hidden potential and enjoy a better viewing experience.
Let’s dive into these practical, cost-free tips to transform your TV’s picture quality!
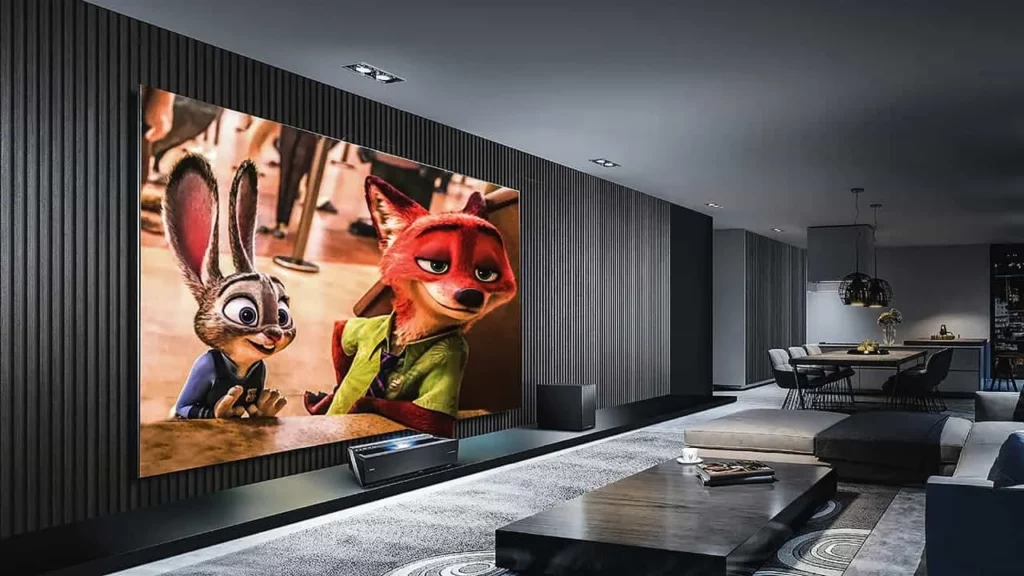
Create a Home Theatre-Like Environment
Imagine watching a movie in a cinema. The darkness around the screen enhances the picture quality, making every color and detail pop. You can recreate this effect at home without spending a dime.
How to Set Up the Right Environment
- Control the Lighting: Block out natural light with curtains or blinds, especially if your room has large windows.
- Turn Off Overhead Lights: Bright lights can cause glare on the screen, washing out the colors.
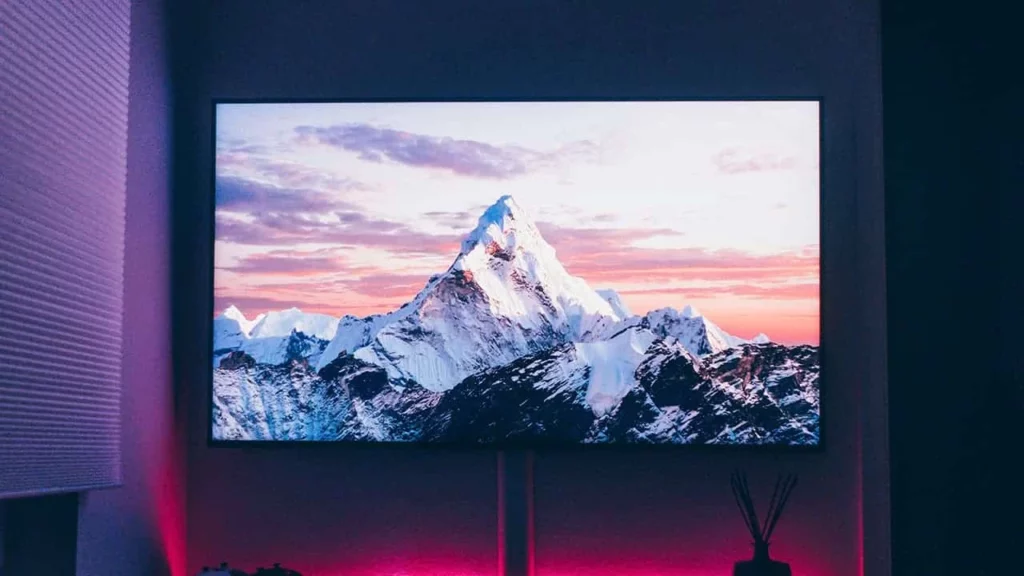
- Use Bias Lighting: If you have LED strips lying around, place them behind your TV. This subtle backlight reduces eye strain and boosts perceived contrast.
Pro Tip for Daytime Viewing
- Bright content like cartoons and sitcoms works well during the day.
- For darker movies or shows, wait until nighttime for an immersive experience. A dim room enhances the dramatic visuals significantly.
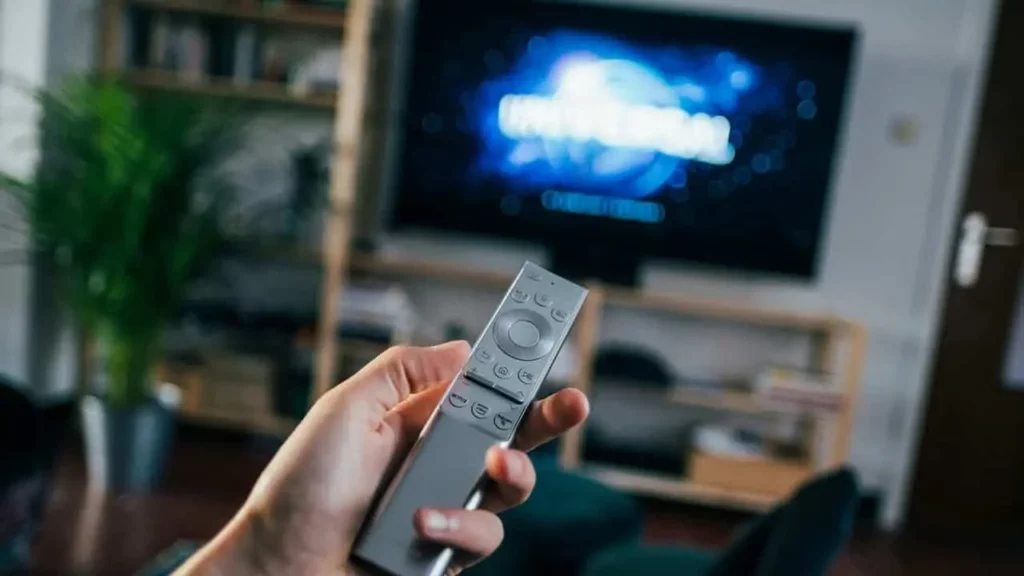
Use the Right Picture Presets
Most TVs come with preset modes like “Dynamic,” “Sports,” or “Cinema.” These presets can drastically change how your TV displays colors, brightness, and contrast. But not all presets are created equal.
Best Picture Modes to Try
- Cinema or Movie Mode: Offers warmer tones and better color accuracy for movies.
- Filmmaker Mode: Available on many modern TVs, this mode ensures content is displayed as the director intended.
Why Avoid Dynamic or Sports Modes?
These modes often push brightness and sharpness too high, creating unnatural colors and overexposed scenes. They may work for bright environments but aren’t ideal for detailed content.

Reposition Your TV for Optimal Viewing
Believe it or not, where and how your TV is placed can affect picture quality.
Steps to Improve TV Placement
- Position at Eye Level: Ensure the center of the TV screen is at eye level when seated. This reduces neck strain and gives you the best viewing angle.
- Avoid Awkward Corners: TVs shoved into corners or angled improperly can make images look distorted.
Perfect Viewing Distance
- Sit at a distance between 1.5 to 2.5 times the diagonal size of your TV.
- Example: For a 55-inch TV, sit around 7 to 11 feet away for optimal clarity.

Fine-Tune Your TV Settings
Your TV’s default settings are often designed to look good in showrooms, not your living room. Tweaking the settings can significantly enhance picture quality.
Key Settings to Adjust
- Brightness:
- This controls black levels, not screen light.
- Keep it around the middle, but adjust the backlight for brighter images.
- Contrast:
- Controls the intensity of whites.
- Increase slightly above 50% for better detail in bright areas.
- Sharpness:
- Avoid setting it too high—it can make the picture look grainy.
- Reduce sharpness below 50% or even lower for a natural image.
- Color Temperature:
- Choose “Warm” or “Neutral” for more accurate colors.
Experiment for Perfection
Every TV is different, so take time to adjust these settings. The goal is a natural and pleasing picture that feels comfortable for your eyes.
Turn Off Motion Smoothing
Motion smoothing, often called “motion interpolation,” adds extra frames to make fast movements appear smoother. While this might work for sports, it ruins movies and shows, creating an unnatural “soap opera effect.”
How to Disable Motion Smoothing
- Look for settings like “MotionFlow,” “Auto Motion Plus,” or “TruMotion.”
- Turn it off, and enjoy content the way it was meant to look.
Calibrate the Picture with Built-In Tools
Many TVs include basic calibration tools. These allow you to test and adjust your picture settings to perfection.
Steps to Calibrate Your TV
- Look for a “Picture Test” Mode: This feature displays sample images to help you tweak brightness, contrast, and sharpness.
- Use a Calibration Video: Free test videos on YouTube can guide you through adjustments.
Key Points to Focus On
- Black Levels: Ensure you can see dark details without making blacks look gray.
- White Levels: Whites should be bright but not blinding.
- Skin Tones: Colors should appear natural and not overly saturated.
Keep the TV Screen Clean
Dust and smudges can dull your TV’s picture. Regular cleaning keeps your screen crystal clear.
How to Safely Clean Your Screen
- Use a Microfiber Cloth: Avoid paper towels that might scratch the screen.
- No Harsh Chemicals: Use a mixture of water and vinegar or a screen-cleaning solution.
- Turn Off the TV First: Cleaning a powered screen can cause streaks.
Update Your TV’s Software
Manufacturers often release updates to improve performance and fix bugs. Outdated software might affect picture quality.
How to Update Your TV
- Go to your TV’s settings menu.
- Check for a “Software Update” option.
- Follow the on-screen instructions to install updates.
Why It Matters
Updates can enhance color accuracy, fix display glitches, and even add new features like Filmmaker Mode.
Use Built-In Picture Enhancement Features
Modern TVs come with features like HDR (High Dynamic Range) or local dimming. These can improve contrast and make colors more vibrant.
Tips for Using These Features
- Enable HDR: If your TV supports HDR, make sure it’s turned on for compatible content.
- Local Dimming: This feature adjusts brightness in specific parts of the screen, enhancing contrast.
Final Thoughts
Improving your TV’s picture quality doesn’t require expensive tools or professional help. By following these simple tips, you can enjoy a cinematic experience from the comfort of your home.
Remember, your eyes are the ultimate judge. Experiment with settings until you find what looks best to you.