Introduction
If your PC powers on, fans start spinning, but the screen remains blank, it’s frustrating and puzzling. This guide will walk you through step-by-step troubleshooting methods to identify and solve the issue. We’ll also share tips to prevent such occurrences in the future.
Why Does My PC Turn On But Show No Image?
Several components work together to make your PC display an image. If any of these fail, it can result in a blank screen. Stay calm and follow a systematic approach to identify the cause. Here are the most common reasons:
1. Loose or Faulty Connections
- Ensure all cables between your PC and monitor are properly connected.
- Look for damaged or frayed wires.
- Use a different cable to eliminate the possibility of a faulty one.
2. Monitor Problems
- Check if the monitor is powered on and working.
- Test the monitor with another device, like a laptop or console.
- If the monitor works with another device, the issue lies within your PC.
3. Graphics Card Issues
- Ensure the dedicated graphics card is properly seated in its slot.
- Clean the card and slot using compressed air to remove dust.
- Check for visible damage or overheating signs.
4. Integrated Graphics Problems
- Connect the monitor to the motherboard’s video output instead of the graphics card.
- Ensure BIOS settings haven’t disabled integrated graphics.
5. RAM Issues
- Poorly seated or faulty RAM can prevent proper booting.
- Test each RAM stick individually to identify defective ones.
6. Power Supply Problems
- An underpowered or failing PSU can cause the PC to power on partially but not display an image.
- Test with a known-good power supply if possible.
How to Troubleshoot and Fix the Issue
Step 1: Check the Monitor and Cables
Start with the most straightforward checks:
- Verify the monitor is turned on and connected correctly.
- Look for any activity, such as a “No Signal” message or logo on the monitor.
- Replace the video cable if you suspect it’s faulty.
- Test the monitor by connecting it to another device.
Pro Tip: Even if the monitor powers on, test it with another PC to ensure it works correctly.
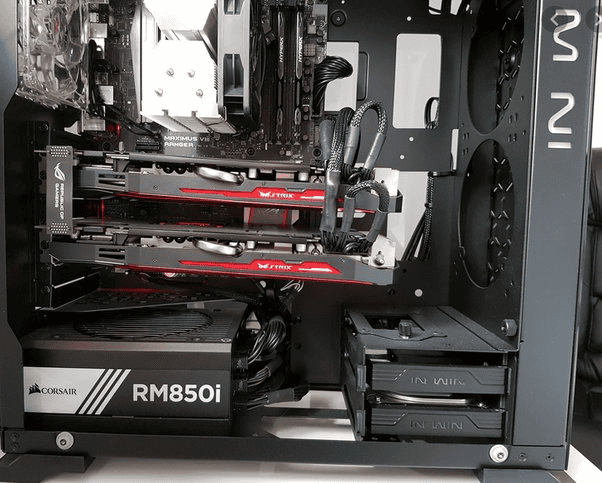
Step 2: Examine the Graphics Card
If your PC has a dedicated graphics card:
- Power off the PC, remove the card, and clean the slot.
- Reseat the card firmly.
- Try another PCIe slot if available.
If the issue persists:
- Remove the card and connect your monitor to the motherboard’s integrated graphics.
Step 3: Test the RAM
Faulty or improperly seated RAM can prevent booting. Follow these steps:
- Power off the PC and remove all RAM sticks.
- Insert one stick at a time and try booting.
- Swap sticks to identify any faulty modules.
Ensure RAM sticks are compatible with your motherboard.
Step 4: Check the Power Supply Unit (PSU)
Your PSU might not be delivering enough power:
- Confirm the wattage of your PSU meets your PC’s requirements.
- Test with another power supply if possible.
Pro Tip: Invest in a high-quality PSU to avoid frequent issues.
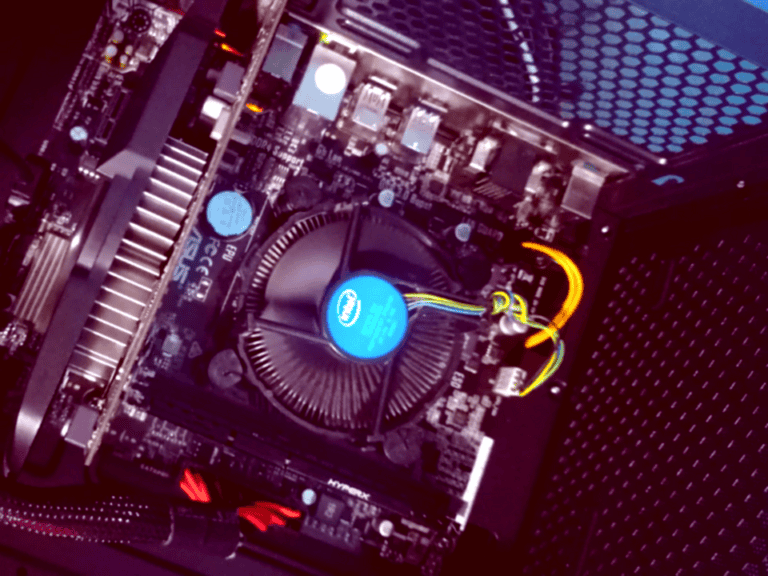
Step 5: Inspect the Motherboard and CPU
- Look for physical damage, like burnt areas or bent pins.
- Ensure the CPU is seated correctly, and the cooler is attached securely.
- Reset the BIOS by clearing the CMOS (remove and reinsert the battery after a few minutes).
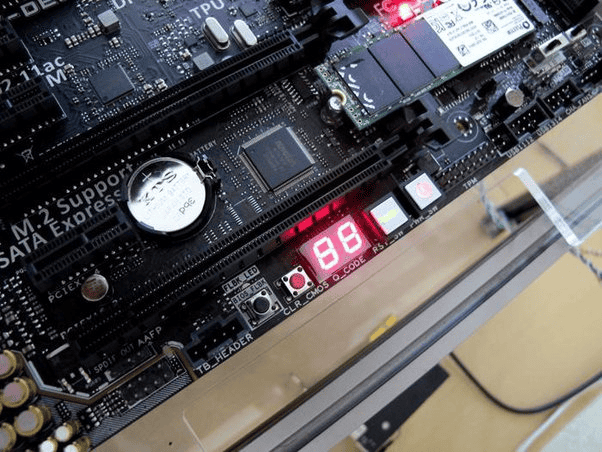
Step 6: Use Diagnostic Tools (POST Codes)
Many modern motherboards provide POST codes or beep patterns to indicate hardware issues.
- Check the motherboard manual or manufacturer’s website to interpret the codes.
- If your motherboard lacks diagnostic tools, consider investing in a POST card tester.
Step 7: Disconnect Peripherals
Non-essential peripherals can sometimes cause boot issues.
- Disconnect everything except the keyboard, mouse, and monitor.
- Boot the PC to see if it works without external devices.
Advanced Troubleshooting Tips
1. Boot in Safe Mode
If the PC starts but doesn’t display correctly, try booting into Safe Mode:
- Restart the PC and repeatedly press F8 or the key designated for Safe Mode.
- Update or uninstall problematic drivers.
2. Check for Software Conflicts
If you recently installed new hardware or software:
- Roll back changes.
- Update BIOS and drivers to the latest versions.
Preventative Measures for Future Issues
- Keep Components Clean: Regularly clean your PC to prevent dust buildup.
- Monitor Temperatures: Use software to track CPU and GPU temperatures.
- Use Quality Components: Invest in reliable power supplies, RAM, and storage devices.
- Regular Maintenance: Check cables and connections periodically.
When to Seek Professional Help
If the above steps don’t resolve the issue, the problem might be more complex, such as a failing motherboard or CPU. A professional technician can:
- Conduct advanced diagnostics.
- Replace or repair faulty hardware.
Conclusion
When your PC powers on but shows no image, it’s crucial to approach the issue methodically. Start with basic checks like ensuring all connections are secure and proceed to advanced troubleshooting, such as testing individual components. If necessary, seek professional help to avoid further damage.