How to Replace a Cracked Phone Screen: DIY Repair Tutorial
A cracked phone screen can feel like a disaster, but it doesn’t have to mean the end of your device. Whether you’re a tech novice or a DIY enthusiast, this guide will walk you through repairing your screen with confidence. Let’s dive into the process, tools, and tips to restore your phone’s display while avoiding costly mistakes.
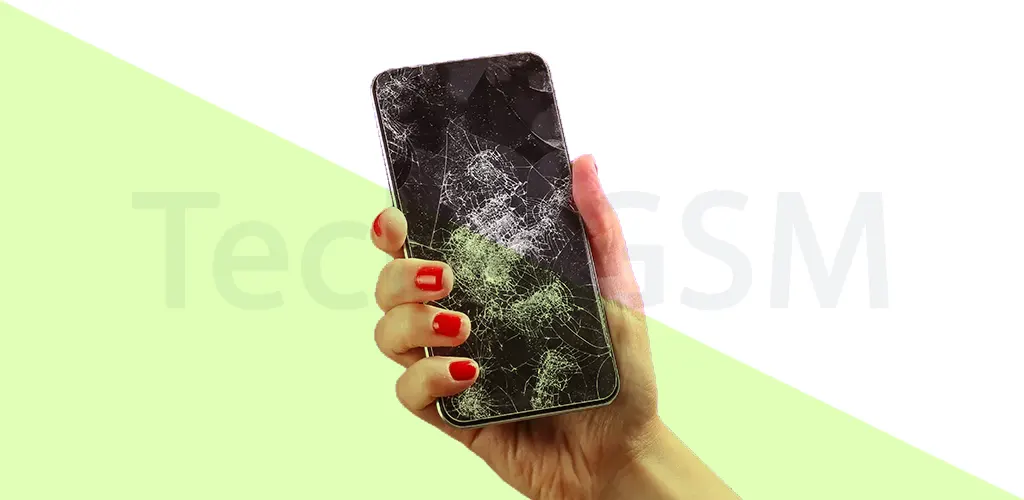
Assessing the Damage: Is Your Phone Screen Repairable?
Before grabbing your tools, determine if the damage is fixable at home. Minor cracks that don’t disrupt touch sensitivity or display clarity are often cosmetic. These can be temporarily patched with a screen protector or clear tape. However, deep cracks or unresponsive touchscreens suggest damage to the LCD or digitizer—a sign you’ll need a full replacement.
Ask yourself:
- Does the screen respond to taps or swipes?
- Are there colored lines or black spots on the display?
- Is glass shattering affecting the phone’s frame?
If the answer is “yes” to the last two questions, professional help might be safer. But if you’re ready to tackle the repair, let’s get started.
Tools You’ll Need for DIY Phone Repair
Gather these essentials to ensure a smooth repair:
- Precision screwdriver set: For removing tiny screws.
- Plastic prying tools: To safely open the phone without scratching.
- Suction cup: Helps lift the screen from the frame.
- Tweezers: For handling delicate cables and small parts.
- Replacement screen: Buy a model-specific screen from trusted sellers.
- Touchscreen adhesive: Ensures the new screen stays secure.
Pro Tip: Work in a clean, well-lit area to avoid losing screws or damaging components.
Step-by-Step Guide to Replacing Your Phone Screen
Step 1: Turn Off the Phone & Remove Accessories
Power down the device fully and remove cases, SIM cards, or SD cards. This prevents accidental damage during disassembly.
Step 2: Open the Phone Housing
Use the suction cup to grip the screen edge, then gently insert the prying tool. Slide it around the frame to loosen the adhesive. Avoid forcing it—patience prevents cracks!
Step 3: Disconnect Internal Cables
Once open, locate the thin cables connecting the screen to the motherboard. Use tweezers to carefully unplug them. Never pull cables directly—lift the connector instead.
Step 4: Remove the Broken Screen
Clear leftover adhesive from the frame with a plastic scraper. Residue can misalign the new screen.
Step 5: Install the New Screen
Apply fresh adhesive to the frame, align the replacement screen, and press evenly. Reconnect cables and reassemble the phone.
Step 6: Test Before Finalizing
Power on the device to check touch function and display quality. If issues arise, revisit connections or adhesive placement.
Common DIY Mistakes to Avoid
- Rushing the process: Hasty movements can snap cables or crack the frame.
- Skipping adhesive cleanup: Old glue causes uneven screen placement.
- Ignoring safety gear: Wear gloves and goggles to protect against glass shards.
- Falling for repair myths: Toothpaste, nail polish, or “liquid glass” won’t fix cracks—they’ll worsen damage.
Professional Repair Options for 2025
If DIY feels risky, consider these choices:
- Authorized repair centers: Use original parts and preserve warranties. Costs range from MMK 50,000 to MMK 550,000, depending on the phone model.
- Third-party shops: Cheaper but verify their reputation. Ask about part warranties and technician experience.
Preventing Future Screen Damage
- Use a rugged case: Opt for shock-absorbent materials like silicone or TPU.
- Apply tempered glass: This layer absorbs impact, sparing the actual screen.
- Avoid high-risk zones: Keep phones away from edges, water, or extreme heat.
Conclusion
Repairing a cracked screen yourself is empowering and cost-effective if done correctly. With this guide, you’ve learned to assess damage, replace components, and avoid pitfalls. For complex issues, trusted services like Tech4GSM offer reliable solutions. Remember: Prevention is key—protect your phone to avoid repeat repairs!
Act now: Equip your toolkit, follow these steps, and give your phone a second life. Your wallet (and your screen) will thank you!