Introduction
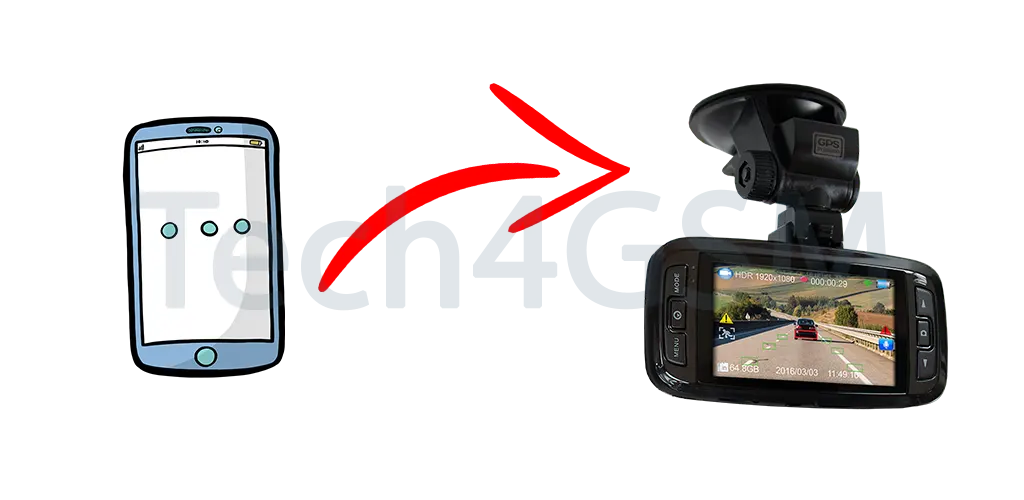
Dash cams have become essential for road safety, capturing crucial footage that can protect drivers from insurance fraud and disputes. A recent viral video showcased the importance of dash cams when an innocent driver caught malicious behavior on camera, preventing a false claim. If you don’t own a dash cam, don’t worry. You can repurpose your old smartphone into one. This guide will walk you through every step, helping you create a cost-effective and eco-friendly dash cam setup.
Why Use an Old Phone as a Dash Cam?
Repurposing your old smartphone comes with numerous advantages:
- Cost-Effective: Save money by avoiding the purchase of a dedicated dash cam.
- Eco-Friendly: Reduce electronic waste by reusing your old device.
- High-Quality Video: Many smartphones have cameras capable of recording clear and high-resolution footage.
- Customizable Features: Dash cam apps offer various settings to meet specific needs.
What You’ll Need
Before starting, gather these essential items:
- An old smartphone (iOS or Android) with a functional camera.
- Dash cam app (free or paid) suitable for your phone.
- Phone mount to secure the phone on your dashboard or windshield.
- Car charger to ensure continuous power supply.
- Sufficient storage (internal or via a microSD card) for recording footage.
- USB cable if needed for power or connectivity.
Step-by-Step Guide to Turning Your Phone into a Dash Cam
1. Prepare Your Old Phone
To ensure optimal performance, start by prepping your phone:
- Factory Reset (Optional): Clear all unnecessary data to free up storage and improve performance.
- Update Software: Ensure the operating system is updated to its latest supported version.
- Remove Unnecessary Apps: Uninstall apps you won’t use to maximize storage and processing power.
2. Install a Dash Cam App
Choose a reliable app that suits your needs. Popular options include:
- AutoBoy Dash Cam (Android)
- DailyRoads Voyager (Android)
- Car Camera (iOS)
- RoadCam (iOS and Android)
Look for features like:
- Loop Recording: Automatically overwrites old footage to save space.
- G-Sensor: Detects collisions and locks important footage.
- GPS Tracking: Records location data.
- Night Mode: Improves low-light video quality.
3. Adjust App Settings
Once the app is installed, configure its settings:
- Video Quality: Set to medium or high for clear footage.
- Loop Duration: Choose a manageable loop length (e.g., 3, 5, or 10 minutes).
- Storage Limit: Enable automatic overwriting of old recordings.
- Collision Detection: Turn on the G-sensor to save footage during sudden impacts.
- Night Mode: Activate for better recording in low-light conditions.
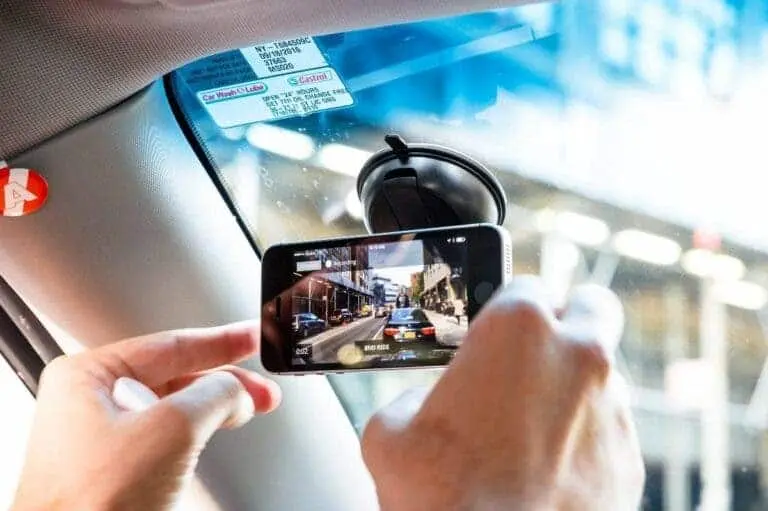
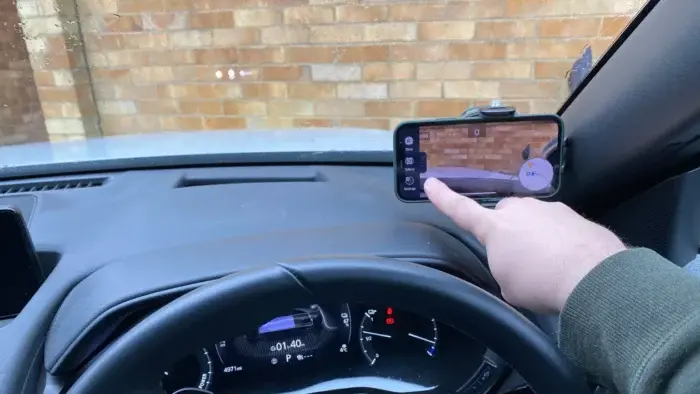
4. Choose a Suitable Phone Mount
Securely mounting your phone is critical for stable and clear recordings. Consider:
- Suction Cup Mounts: Attach to your windshield or dashboard.
- Magnetic Mounts: Ensure your phone case supports magnets.
- Air Vent Mounts: Ideal for a discreet and low-profile setup.
Position the mount to provide a clear and unobstructed view of the road.
5. Ensure Continuous Power Supply
Recording continuously drains battery power quickly. To prevent this:
- Use a Car Charger: Plug a USB cable into your car’s charging port.
- Invest in a Power Bank: Keep a high-capacity power bank as a backup.
6. Manage Storage Space
Dash cam footage can consume significant storage. Here’s how to manage it:
- MicroSD Card: If your phone supports it, insert a microSD card for additional storage.
- Loop Recording: Enable automatic overwriting of older files.
- Regular Backups: Transfer important footage to your computer or cloud storage periodically.
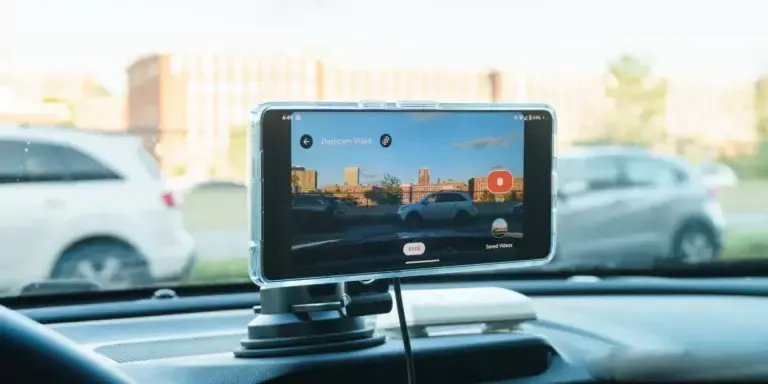
7. Test the Setup
Before driving, ensure everything works correctly:
- Start the dash cam app and begin recording.
- Check the video quality for clarity.
- Test collision detection and GPS features.
- Confirm the power connection to avoid unexpected battery drain.
8. Hit the Road
After completing the setup, your phone is ready to serve as a dash cam. Before each trip:
- Securely mount the phone.
- Open the dash cam app and start recording.
- Connect the charger to maintain power.
Advantages of a DIY Dash Cam Setup
- Affordability: No need for additional expenses on a new device.
- Versatility: Dash cam apps provide customizable features.
- Convenience: Easily transfer and view recordings on your smartphone.
Potential Challenges and Solutions
- Battery Drain: Use a reliable car charger or power bank.
- Phone Heat: Avoid prolonged exposure to direct sunlight; consider using a sunshade.
- Storage Issues: Enable loop recording and transfer files regularly.
- Mount Stability: Invest in a high-quality mount to ensure stability.
Tips for Optimal Performance
- Keep the Lens Clean: Regularly wipe the camera lens for clear recordings.
- Avoid Overheating: Prevent direct sunlight on the phone during long drives.
- Check Storage Frequently: Monitor storage space to ensure uninterrupted recording.
- Use Voice Commands: If available, enable voice control for hands-free operation.
Conclusion
Repurposing your old smartphone as a dash cam is a practical and cost-effective way to enhance road safety. By following this step-by-step guide, you can create a reliable dash cam setup, reduce electronic waste, and gain peace of mind while driving. With minimal investment and effort, your old phone can become an indispensable tool for recording your journeys and protecting yourself on the road.