Do You Have macOS Dreams? Try It Out In Virtual Box
Running macOS on your PC has never been easier. If you’ve always wanted to explore macOS but don’t want to invest in a Mac, VirtualBox allows you to try it on your existing Windows or Linux system. This guide will walk you through the process of setting up macOS in VirtualBox, enabling you to explore Apple’s operating system on your computer.
Why Use VirtualBox for macOS?
When you buy a Mac, it comes with macOS pre-installed. But what if you’re curious about macOS and don’t want to purchase a Mac right away? VirtualBox lets you run macOS on your existing hardware.
Advantages of Using VirtualBox:
- Cost-Effective Solution: No need to buy Apple hardware to experience macOS.
- Testing Environment: Create a sandbox for safely experimenting with macOS features.
- Development Platform: Ideal for developers testing apps or websites on macOS.
- Multi-OS Setup: Run macOS alongside your current operating system without dual-booting.
With VirtualBox, you can test macOS securely without altering your primary OS or hardware. Let’s get started on how to make this dream a reality.
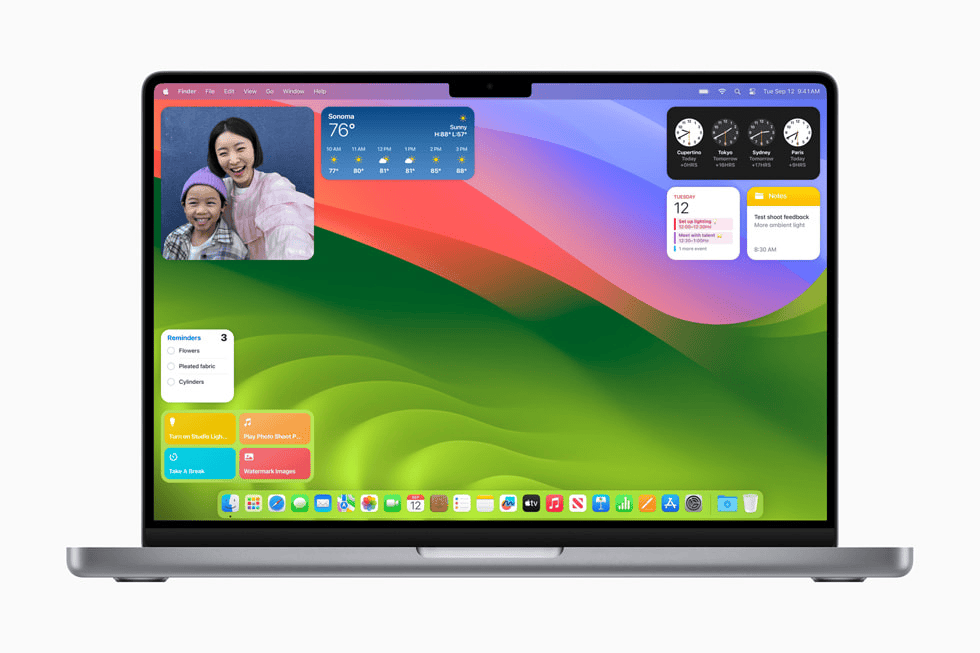
What Is VirtualBox?
VirtualBox is a powerful virtualization software that enables you to run one operating system inside another. Instead of switching between systems like in dual-booting, VirtualBox runs macOS as a “guest OS” alongside your main operating system.
Key Features of VirtualBox:
- Multi-Platform Support: Works on Windows, macOS, and Linux.
- Resource Sharing: Shares CPU, memory, and storage between the host and guest OS.
- Flexibility: Allows you to run and test different operating systems without rebooting.
While performance might not match a native installation, VirtualBox is excellent for testing and learning macOS.
Prerequisites for Installing macOS on VirtualBox
Before diving into the setup, make sure you have the following:
1. Sufficient Computer Resources
- RAM: At least 8GB recommended (4GB for macOS, 4GB for the host system).
- Storage: Minimum 20GB free disk space for the macOS virtual machine.
2. VirtualBox Software
Download and install the latest version of VirtualBox from its official website.
3. macOS ISO File
The ISO file is essential for installing macOS in VirtualBox. You can create one if you have access to a Mac or download it from trusted sources (be cautious of security risks).
4. Reliable Internet Connection
For downloading updates, drivers, and additional software during installation.
How to Get the macOS ISO File
The macOS ISO file is the core installation file required for VirtualBox. Here’s how to obtain it:
Using a Mac
- Download from App Store:
- Open the Mac App Store and search for “macOS Sonoma.”
- Click “Get” to download the installer. Do not install it on your Mac.
- Convert Installer to ISO:
- Locate the downloaded
.APPfile in the Applications folder. - Use Disk Utility and Terminal commands to convert the
.APPfile to a.DMGfile and then to an ISO.
- Locate the downloaded
Without a Mac
- Search online for “macOS Sonoma ISO file” on trusted websites.
- Download the file (typically 14–16GB).
Note: Ensure the file source is reliable to avoid malware or corrupted files.
Steps to Install macOS on VirtualBox
Now that you have the ISO file, follow these steps to set up macOS in VirtualBox:
1. Download and Install VirtualBox
- Visit the VirtualBox website.
- Download the version for your operating system.
- Install VirtualBox by following the on-screen instructions.
2. Create a New Virtual Machine
- Open VirtualBox and click on the New button.
- Enter the following details:
- Name: macOS (or any name you prefer).
- Type: Mac OS X.
- Version: Select the version matching your macOS ISO.
- Allocate system resources:
- RAM: At least 4GB.
- Hard Disk: Create a virtual disk of at least 20GB.
3. Configure Virtual Machine Settings
- Select your virtual machine and click Settings.
- Adjust the following:
- Processor: Allocate 2 CPUs.
- Storage: Under “Controller: IDE,” choose the macOS ISO file.
- Display: Increase video memory to 128MB for better graphics performance.
4. Start the Virtual Machine
- Click Start to launch the VM.
- The macOS installer will boot from the ISO file.
- Follow on-screen instructions to:
- Select the virtual hard disk.
- Format it using Disk Utility if required.
- Complete the installation process.
5. Install VirtualBox Guest Additions (Optional)
For enhanced performance:
- Click on Devices in the VirtualBox menu.
- Select Insert Guest Additions CD image.
- Follow prompts to install Guest Additions in the macOS environment.
Using macOS in VirtualBox
After installation, you’ll have a fully functional macOS running inside VirtualBox. Use it for:
- Exploring macOS features.
- Developing apps and testing macOS-specific software.
- Learning macOS basics before transitioning to Apple hardware.
Limitations to Expect:
- Performance: Slower than a native Mac installation.
- Compatibility: Some macOS features may not work perfectly.
Benefits of Running macOS in VirtualBox
- Cost Savings: Experience macOS without investing in expensive Apple hardware.
- Flexibility: Switch between macOS and your main OS easily.
- Development and Testing: Safe space for experimenting with macOS apps.
Conclusion: macOS on VirtualBox is Possible and Useful
VirtualBox opens the door to exploring macOS without purchasing a Mac. While the setup process may seem complicated, it’s a one-time effort. Once done, you can enjoy macOS anytime on your Windows or Linux machine.
If you’re curious about macOS or need a testing platform for macOS-specific applications, VirtualBox is an excellent tool. It’s cost-effective, flexible, and perfect for both personal and professional use.